There’s something deeply satisfying about improving your pool with your own hands—not only do you save hundreds on labor costs, but you gain intimate knowledge of how your system works. Pool jets are among the most impactful upgrades you can tackle yourself, serving as the backbone of water circulation that keeps your pool clean, comfortable, and inviting. However, improper installation can quickly turn a weekend project into a costly nightmare, resulting in persistent leaks, reduced water flow efficiency, or even dangerous safety hazards around electrical components.
This guide walks you through the best tips for a successful DIY pool jet installation, covering everything from understanding jet types and pre-installation planning to a detailed step-by-step process and critical safety practices. You’ll also learn which common mistakes trip up even experienced DIYers and how to sidestep them entirely. Whether you’re replacing worn-out jets or adding new ones for better circulation, following this structured approach ensures your installation goes smoothly from the first measurement to the final test run.
Understanding Pool Jets and Their Role in Your Pool System
Pool jets are the fittings installed in your pool walls or floor that push filtered, treated water back into the swimming area after it passes through your pump and filtration system. They come in several varieties—adjustable jets let you control the direction and intensity of water flow, directional jets focus streams toward specific zones, and rotating jets create broader circulation patterns. Some pools also use flush-mounted jets for a sleeker appearance or eyeball fittings that allow quick manual repositioning.


Beyond simply returning water to the pool, these jets serve a critical function in maintaining water hygiene. Proper circulation prevents dead zones where algae and bacteria thrive, distributes sanitizing chemicals evenly, and pushes debris toward skimmers for removal. Well-positioned pool jets also enhance comfort by eliminating stagnant warm spots and creating gentle currents that make swimming more enjoyable. When installation is done correctly, jets operate quietly and efficiently, reducing strain on your pump while maximizing flow coverage across the entire pool volume. Understanding these fundamentals before you begin ensures you choose the right jet type for your specific pool shape, size, and intended use—laying the groundwork for an installation that performs exactly as designed.
Essential Pre-Installation Steps and Tools for Success
Successful pool jet installation begins long before you pick up a drill. Start by reviewing your pool’s existing plumbing layout and identifying where return lines run—this determines viable jet placement locations without requiring extensive new piping. Check local building codes and permit requirements, as many municipalities regulate pool modifications, particularly those involving plumbing or electrical connections. Skipping this step can result in fines or forced removal of your work.
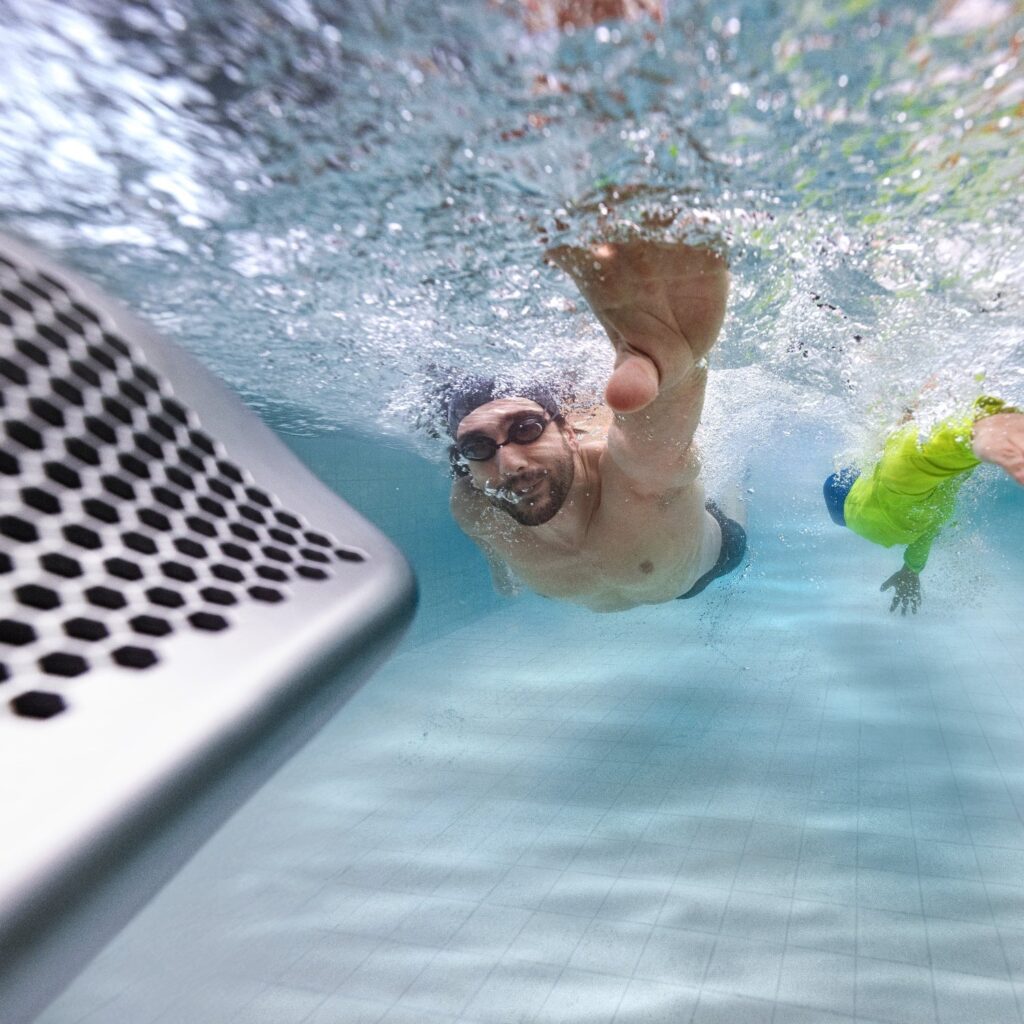
Gather your tools and materials in advance so the project flows without interruption. You’ll need a hole saw or core drill bit matched to your jet housing diameter, PVC primer and cement, thread sealant tape, silicone-based waterproof sealant, a measuring tape, a level, and a marker or grease pencil for positioning. Safety gear—including eye protection, work gloves, and ear protection during drilling—is non-negotiable. Before purchasing jet fittings, read the manufacturer’s instructions thoroughly to confirm compatibility with your pool material, whether that’s concrete, fiberglass, or vinyl liner. Each surface demands different installation techniques and adhesives. Among the most overlooked pool installation tips is measuring your existing pipe diameter to ensure new fittings match without requiring adapters that could restrict flow. Taking an extra hour to plan saves days of corrective work later.
See also: Tech Platform Insight Portal Cbwebsys Revealing Verified Digital Signals
Step-by-Step Guide to the DIY Pool Jet Installation Process
Preparing the Pool Surface and Marking Jet Positions
With your planning complete, drain the pool to below the intended jet height—or fully if you’re working on floor jets. Clean the installation area thoroughly using a stiff brush and degreaser to remove algae, calcium deposits, or any coating that could interfere with adhesion. A clean surface ensures sealants bond properly and prevents debris from contaminating your cuts. Next, use your measuring tape to mark precise jet positions based on your pre-planned layout. Most residential pools benefit from jets placed 12 to 18 inches below the waterline, angled slightly downward to create a circular flow pattern. Hold the jet housing or a manufacturer-provided template against the wall and trace its outline with a grease pencil. Double-check measurements from fixed reference points like the skimmer or pool corners, and use a level to confirm alignment. Even a quarter-inch deviation can cause cosmetic issues or fitting problems once the housing is inserted.
Drilling Holes and Securing Jet Housings
Select a hole saw or core drill bit that matches your jet housing’s outer diameter exactly—too large creates gaps that sealant alone cannot reliably fill, while too small forces the fitting and risks cracking the pool shell. For concrete pools, use a diamond-tipped core bit with steady, moderate pressure and frequent water cooling to prevent overheating. Fiberglass requires a carbide-grit hole saw at low speed to avoid splintering the gel coat. Vinyl liner pools demand the most caution; you’ll typically install a wall fitting plate behind the liner rather than cutting through structural material. Once drilled, smooth any rough edges with a file or sandpaper to ensure a flush fit. Apply a generous bead of pool-rated silicone sealant around the housing exterior, then press it firmly into the hole from the pool side. On concrete installations, you may also need to apply PVC cement to bond the housing to the embedded pipe stub. Hold the housing in place or use a temporary brace until the adhesive sets according to manufacturer cure times—rushing this step is a primary cause of future leaks.
Connecting to Plumbing and Ensuring Watertight Seals
With housings secured, connect them to your return plumbing from behind the pool wall. Dry-fit all PVC pipe sections first to confirm angles and lengths before committing to cement. When you’re satisfied with the alignment, apply PVC primer to both the pipe exterior and the fitting interior, then immediately follow with PVC cement, twisting the joint a quarter turn as you push it together. This pool installation process requires working quickly since cement sets within seconds. For threaded connections, wrap threads with three layers of PTFE tape in a clockwise direction, then hand-tighten before adding a final half-turn with a wrench—over-tightening cracks fittings. Install a rubber gasket between the jet face plate and the housing, compressing it evenly to form a secondary water barrier. Once all connections are made, allow a full 24-hour cure period before introducing water pressure to the system.
Final Adjustments, Testing, and Troubleshooting
After curing, slowly refill the pool and visually inspect each jet housing for any seepage as the water level rises past the fittings. Once filled, prime your pump and turn the system on at low speed initially. Check each jet for consistent water output—weak flow at one jet often indicates an air pocket in the line, which you can resolve by briefly loosening and retightening the fitting to bleed trapped air. Adjust eyeball nozzles to direct flow in a unified circular pattern, pointing jets away from skimmers so debris naturally drifts toward collection points. Listen for unusual whistling or gurgling, which suggests a partial obstruction or improperly sized fitting. If one jet produces noticeably stronger flow than others, partially close its directional nozzle to balance pressure across all return points. Run the system for at least two hours while periodically rechecking connections for moisture, and mark any problem areas for resealing before considering the job complete.
Safety First: Implementing Triple-Layer Protection and Electrical Best Practices
Working near water and electricity demands respect for a concept best described as triple-layer protection—a three-tiered safety approach that dramatically reduces the risk of electrical shock or equipment damage. The first layer is a Ground Fault Circuit Interrupter (GFCI) outlet, which instantly cuts power when it detects current leaking to ground, such as through water or a human body. Every electrical connection within 20 feet of your pool must be GFCI-protected, and you should test these outlets monthly by pressing the reset button. The second layer involves proper grounding and bonding of all metal components—pump housings, light fixtures, handrails, and even the rebar in concrete pools must be connected to a common bonding grid that safely dissipates stray voltage. The third layer is waterproof insulation, meaning all wiring runs through sealed conduit, junction boxes use watertight covers, and connections are wrapped with moisture-resistant electrical tape or heat-shrink tubing.
If your jet installation requires tapping into existing electrical lines—particularly when adding a booster pump or powered jet features—strongly consider hiring a licensed electrician rather than handling it yourself. Smart home platforms like iGarden can help you monitor and control pool pump schedules remotely, but the initial electrical wiring must meet strict safety standards. Licensed electricians understand local code requirements for wire gauge, burial depth for underground conduit, and proper disconnect placement. Even if you’re confident in your plumbing skills, electrical work near pools carries life-threatening consequences when done incorrectly. Keep all power sources off and locked out while working on plumbing connections, and never test jets while standing in or touching pool water until a qualified professional has verified the electrical integrity of your entire system.
Common DIY Pool Jet Installation Mistakes and How to Avoid Them
Even well-intentioned DIYers fall into predictable traps that compromise their pool jet installations. The most frequent error is incorrect jet positioning—placing jets too deep, too shallow, or aimed in conflicting directions that create turbulence rather than smooth circulation. Before drilling a single hole, map your desired flow pattern on paper and confirm that jets will work together to push water in one cohesive direction, typically counterclockwise toward the main drain and skimmers.
Poor sealing ranks as the second most common failure, often because installers apply sealant to damp surfaces or skip the recommended cure time before pressurizing the system. Always ensure surfaces are bone-dry during adhesive application, and resist the temptation to refill early—patience here prevents weeks of chasing phantom leaks later. Another costly mistake is ignoring local building codes, which can mandate specific jet placement depths, backflow prevention devices, or inspection requirements. A quick call to your municipal building department clarifies what’s needed before you start. Finally, rushing the overall process—skipping dry-fit checks, eyeballing measurements instead of using precise tools, or neglecting to read manufacturer specifications—introduces compounding errors that only reveal themselves after the pool is filled. The antidote is straightforward: slow down, measure twice, and treat every connection as if it’s the one most likely to fail.
Achieving Professional-Quality Results With Your DIY Pool Jet Installation
A successful DIY pool jet installation comes down to respecting the process from start to finish. Thorough preparation—understanding your pool’s plumbing layout, gathering the right tools, and verifying local code requirements—eliminates the guesswork that leads to costly errors. Following a methodical step-by-step approach, from precise surface marking through proper drilling, secure housing placement, and careful plumbing connections, ensures each component performs as intended for years to come. Prioritizing safety through triple-layer protection—GFCI outlets, proper bonding, and waterproof insulation—protects both you and your family every time the system runs.
Learning from common mistakes rather than repeating them separates a professional-quality result from a frustrating do-over. Measure twice, allow full cure times, and never rush a connection you’ll later bury behind water. For any electrical work that exceeds your confidence level, calling a licensed electrician isn’t admitting defeat—it’s smart project management. With your jets properly installed, take pride in the improved circulation, cleaner water, and enhanced comfort you’ve created with your own hands. Every swim becomes a reminder of what thoughtful DIY effort can accomplish.